

If you've ever bought a bag of fried onion crisps at the store, you know they're addictive. But they're also packed with preservatives and often taste more like cardboard than onion. This homemade version is a game-changer: you get real onion flavor, a satisfying crunch, and total control over the oil and salt.
Advertisements1
The process is straightforward: slice onions super thin, toss with a seasoned flour mixture, and bake until crispy. No deep-frying required, but I'll also give you the stovetop method if you want that extra indulgence. The key is to get the onions dry enough before baking so they crisp up rather than steam.
I've tested this recipe multiple times to nail the timing and texture. The result is a batch of golden, shattery crisps that you'll want to eat straight off the baking sheet. They're perfect as a snack, but they also elevate burgers, sandwiches, and casseroles.
Why You'll Love This Recipe
About the Ingredients
2 large yellow onions (about 1 lb / 450g)
Yellow onions have the best balance of sweetness and bite. You can also use sweet onions like Vidalia for a milder flavor, but they may brown faster.
1/2 cup (60g) all-purpose flour
This helps the coating stick and creates a crispy crust. For a gluten-free version, use a 1:1 gluten-free flour blend.
1 teaspoon garlic powder
Adds savory depth. If you don't have garlic powder, use onion powder or a pinch of cayenne for heat.
1 teaspoon smoked paprika
Gives a subtle smoky flavor. Regular paprika works, but smoked adds a nice twist.
1/2 teaspoon salt
Enhances the onion flavor. Use fine sea salt for even distribution.
1/4 teaspoon black pepper
Freshly ground is best, but pre-ground works in a pinch.
2 tablespoons olive oil
Helps the coating crisp up. You can substitute melted butter or avocado oil for a different flavor.
Tips & Tricks
- Slice the onions uniformly thin (about 1/8 inch) using a mandoline or sharp knife. Uneven slices will cook at different rates, leading to some burnt and some underdone.
- Dry the onion slices thoroughly with a clean kitchen towel before coating. Excess moisture will make them steam instead of crisp.
- Don't overcrowd the baking sheet. Give each slice room to breathe so hot air circulates and crisps them evenly. Use two sheets if needed.
Pro Tips
Step-by-Step Instructions
1. Preheat and Prep
Preheat your oven to 400°F (200°C). Line a large baking sheet with parchment paper or a silicone mat. Peel the onions and slice them into thin rings, about 1/8 inch thick. Separate the rings with your fingers.
2. Mix the Coating
In a large bowl, whisk together the flour, garlic powder, smoked paprika, salt, and black pepper. This seasoned coating will give the crisps their savory punch.
3. Coat the Onions
Add the onion rings to the bowl and toss with your hands until each ring is well coated. Then drizzle with olive oil and toss again to distribute the oil evenly. The oil helps the coating adhere and promotes browning.
4. Arrange on Sheet
Spread the coated onion rings in a single layer on the prepared baking sheet. Make sure they aren't overlapping, or they'll steam rather than crisp. If you have too many, use a second sheet.
5. Bake Until Golden
Bake for 20-25 minutes, flipping the rings halfway through, until they are golden brown and crispy. The edges should be deeply browned and the center should feel dry and shattery. Keep an eye on them during the last 5 minutes to prevent burning.
6. Cool and Crisp
Remove from the oven and let the crisps cool on the baking sheet for 5 minutes. They will continue to crisp up as they cool. If any are still soft, return them to the oven for a few more minutes.
7. Serve or Store
Serve immediately as a snack or use as a topping. Store any leftovers in an airtight container at room temperature for up to 3 days (though they're best fresh).
Delicious Variations
Spicy
Add 1/2 teaspoon cayenne pepper or a pinch of chili flakes to the flour mixture.
Herbed
Mix in 1 teaspoon dried thyme or rosemary for an earthy flavor.
Sweet & Savory
Sprinkle with a little brown sugar before baking for a sweet-savory crunch.
How to Store Homemade Onion Crisps
Refrigerator
Store in an airtight container at room temperature for up to 3 days. Do not refrigerate, as they will become soggy.
Freezer
Freeze in a single layer on a baking sheet, then transfer to a zip-top bag. They can be frozen for up to 1 month. Reheat in a 350°F (175°C) oven for 5-7 minutes to restore crispiness.
Reheating
To reheat, spread on a baking sheet and warm in a 350°F (175°C) oven for 5-7 minutes until hot and crispy.
Frequently Asked Questions
Q: Can I use a different type of onion?
Yes, you can use white, red, or sweet onions, but yellow onions are recommended for their balanced flavor and crispness. Red onions will be slightly milder and may brown faster.
Q: Why are my onion crisps not crispy?
The most common reason is excess moisture. Make sure the onions are thoroughly dried before coating, and avoid overcrowding the baking sheet so they can crisp up properly.
Q: Can I deep-fry these instead of baking?
Absolutely. Heat about 1 inch of oil to 350°F (175°C) and fry the coated onions in batches for 2-3 minutes until golden brown. Drain on paper towels and season immediately.
Q: How do I get the coating to stick better?
Toss the onions with the flour mixture first, then add the oil and toss again. The oil helps the flour adhere. You can also let the coated onions rest for 10 minutes before baking.
Try this recipe this weekend and let me know how they turn out in the comments. I'd love to hear your favorite way to use them! Keep it real.
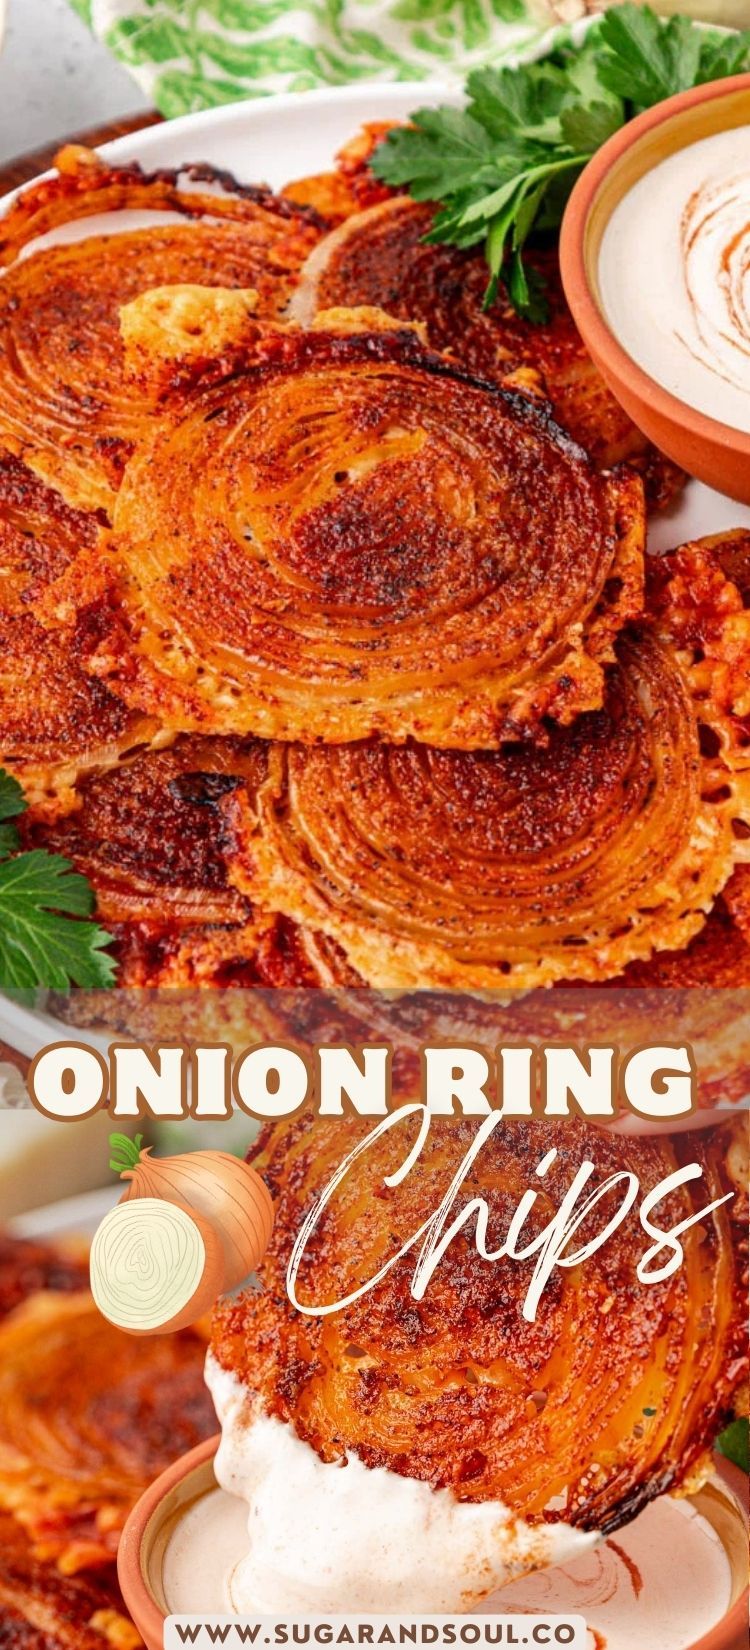
Homemade Onion Crisps
Make crunchy, savory onion crisps at home in 30 minutes – perfect for snacking, topping soups, or adding crunch to salads.
🧂 Ingredients
- 2 large yellow onions (about 1 lb / 450g)
- 1/2 cup (60g) all-purpose flour
- 1 teaspoon garlic powder
- 1 teaspoon smoked paprika
- 1/2 teaspoon salt
- 1/4 teaspoon black pepper
- 2 tablespoons olive oil
📋 Instructions
- 1Preheat and Prep — Preheat your oven to 400°F (200°C). Line a large baking sheet with parchment paper or a silicone mat. Peel the onions and slice them into thin rings, about 1/8 inch thick. Separate the rings with your fingers.
- 2Mix the Coating — In a large bowl, whisk together the flour, garlic powder, smoked paprika, salt, and black pepper. This seasoned coating will give the crisps their savory punch.
- 3Coat the Onions — Add the onion rings to the bowl and toss with your hands until each ring is well coated. Then drizzle with olive oil and toss again to distribute the oil evenly. The oil helps the coating adhere and promotes browning.
- 4Arrange on Sheet — Spread the coated onion rings in a single layer on the prepared baking sheet. Make sure they aren't overlapping, or they'll steam rather than crisp. If you have too many, use a second sheet.
- 5Bake Until Golden — Bake for 20-25 minutes, flipping the rings halfway through, until they are golden brown and crispy. The edges should be deeply browned and the center should feel dry and shattery. Keep an eye on them during the last 5 minutes to prevent burning.
- 6Cool and Crisp — Remove from the oven and let the crisps cool on the baking sheet for 5 minutes. They will continue to crisp up as they cool. If any are still soft, return them to the oven for a few more minutes.
- 7Serve or Store — Serve immediately as a snack or use as a topping. Store any leftovers in an airtight container at room temperature for up to 3 days (though they're best fresh).

Diego covers personal finance and side hustles, with a focus on creative ways to earn extra income. He writes from the perspective of a self-taught tinkerer who tests ideas himself, sharing what works and what doesn't. His approach is candid and numbers-driven, without the hype.