
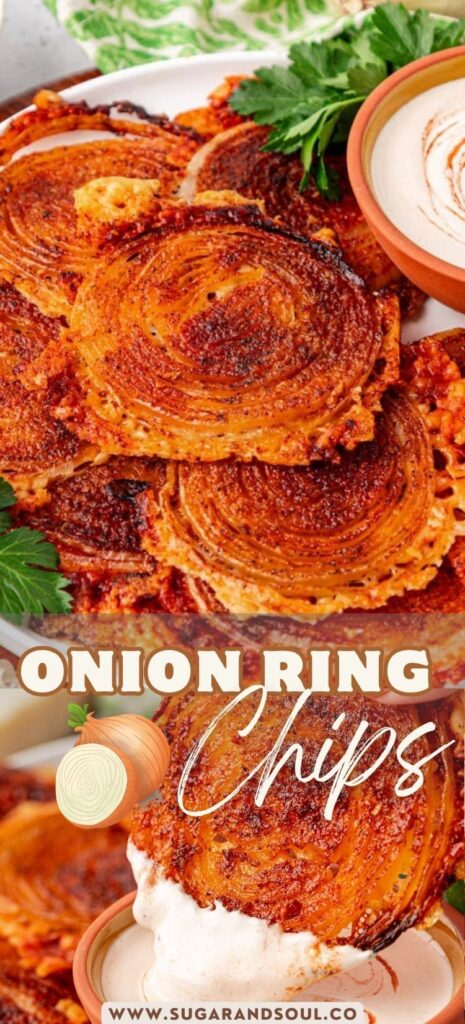
There’s something magical about turning a humble onion into golden, crispy perfection. These homemade onion crisps are my family’s favorite – we pile them on burgers, salads, and even eat them straight from the bowl (no judgment!).
Advertisements1
I started making these when I wanted a healthier alternative to store-bought fried onions. They’re baked, not fried, so they’re lighter but just as addictive. Plus, they’re so easy to whip up with pantry staples.
Whether you’re hosting game day or just craving a crunchy snack, these crisps deliver. Let’s get your oven preheated and your onions sliced!
Why You'll Love This Recipe
About the Ingredients
2 large onions (about 1 lb / 450g), sliced into 1/4-inch rings
Sweet onions like Vidalia work best, but yellow onions are fine. For a milder flavor, soak slices in cold water for 10 minutes and pat dry.
1 cup (120g) all-purpose flour
For a gluten-free version, use a 1:1 gluten-free flour blend or cornstarch.
2 large eggs, beaten
If you need an egg substitute, use 1/2 cup buttermilk or a flax egg (1 tbsp flaxseed meal + 3 tbsp water).
1 1/2 cups (150g) panko breadcrumbs
Panko gives extra crunch. Regular breadcrumbs work too, but panko yields a lighter texture. For low-carb, use crushed pork rinds or almond flour.
1 teaspoon garlic powder
Feel free to swap with onion powder or smoked paprika for a different flavor kick.
1 teaspoon smoked paprika
Adds a subtle smoky depth; regular paprika is fine if you don’t have smoked.
1/2 teaspoon salt
Adjust to taste; sea salt or kosher salt both work.
1/4 teaspoon black pepper
Freshly ground is best, but pre-ground works in a pinch.
Cooking spray or 2 tablespoons olive oil
For spraying the crisps before baking to help them brown and crisp up.
Tips & Tricks
Slice onions uniformly
Use a mandoline or sharp knife to get even 1/4-inch rings. Thinner slices crisp faster but may burn; thicker ones stay chewy.
Don’t overcrowd the baking sheet
Leave space between rings so hot air circulates, ensuring even crispness. Use two sheets if needed.
Pat onions dry after soaking
If you soak to mellow the flavor, dry thoroughly with paper towels to help the coating stick and prevent steaming.
Pro Tips
Step-by-Step Instructions
1. Preheat and Prep
Preheat your oven to 425°F (220°C). Line two large baking sheets with parchment paper or a silicone mat. Set up a breading station: three shallow bowls – one with flour, one with beaten eggs, and one with breadcrumbs mixed with garlic powder, smoked paprika, salt, and pepper.
2. Slice the Onions
Peel the onions and slice them into 1/4-inch thick rings. Gently separate the rings. If you want milder flavor, soak them in ice water for 10 minutes, then pat dry with paper towels.
3. Coat the Onions
Working in batches, dip each onion ring into the flour, shaking off excess. Then dip into the egg, letting any drips fall off. Finally, press into the breadcrumb mixture, ensuring an even coat. Place on the prepared baking sheets.
4. Spray with Oil
Lightly spray the coated onion rings with cooking spray or drizzle with olive oil. This helps them brown and become crispy in the oven.
5. Bake Until Golden
Bake for 15-20 minutes, flipping halfway through, until the crisps are golden brown and crunchy. The edges will look deeply browned and the coating will feel firm when lightly pressed. For extra crispiness, broil for the last 1-2 minutes, watching closely.
6. Cool and Serve
Remove from the oven and let cool for 2-3 minutes on the baking sheet (they will crisp up more as they cool). Serve warm or at room temperature. Enjoy as a snack or as a topping for soups, salads, and burgers.
Delicious Variations
Spicy Kick
Add 1/2 teaspoon cayenne pepper or chili powder to the breadcrumb mixture for a fiery twist.
Herb Garden
Mix in 1 teaspoon dried thyme or rosemary with the breadcrumbs for an earthy flavor.
Sweet and Savory
Use sweet onions and add a pinch of sugar to the flour; serve with a honey-mustard dipping sauce.
How to Store Homemade Onion Crisps
Refrigerator
Store in an airtight container in the refrigerator for up to 3 days. They may lose some crispness.
Freezer
Freeze in a single layer on a baking sheet, then transfer to a zip-top bag for up to 2 months. Reheat directly from frozen.
Reheating
Reheat in a preheated 350°F (175°C) oven for 5-7 minutes until hot and crispy. Avoid microwaving, as it makes them soggy.
Frequently Asked Questions
Q: Can I make onion crisps in an air fryer?
Yes, you can! Preheat your air fryer to 375°F (190°C) and cook the coated onion rings in a single layer for 8-10 minutes, shaking the basket halfway, until golden and crispy.
Q: How do I keep onion crisps crispy for a party?
To keep them crispy, place them on a wire rack set over a baking sheet in a 200°F (93°C) oven for up to 1 hour. Do not cover them, as trapped steam will make them soggy.
Q: Can I use yellow onions instead of sweet onions?
Absolutely! Yellow onions work great and have a slightly stronger flavor. Just be aware they may be a bit more pungent; soaking in cold water for 10 minutes can mellow the bite.
Q: What can I use instead of panko breadcrumbs?
You can use regular breadcrumbs, crushed cornflakes, or even crushed potato chips for a different crunch. For a gluten-free option, use gluten-free breadcrumbs or almond flour.
Next time you're craving something crunchy, skip the store-bought fried onions and make these homemade crisps. Try them on your favorite salad or burger – I promise you'll never go back! Happy organizing!
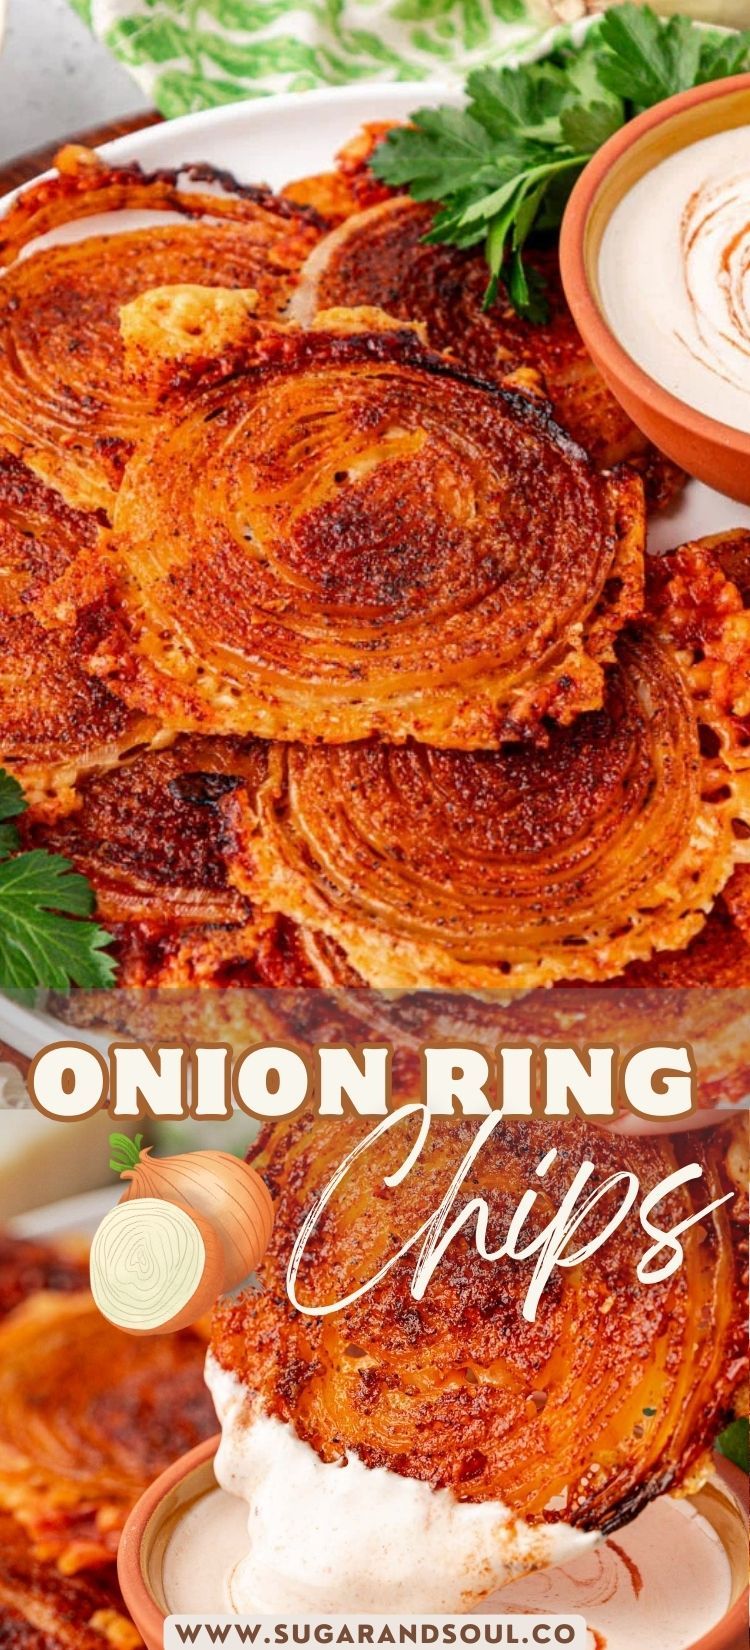
Homemade Onion Crisps
Crunchy, savory homemade onion crisps are the ultimate snack or topping, ready in 30 minutes.
🧂 Ingredients
- 2 large onions (about 1 lb / 450g), sliced into 1/4-inch rings
- 1 cup (120g) all-purpose flour
- 2 large eggs, beaten
- 1 1/2 cups (150g) panko breadcrumbs
- 1 teaspoon garlic powder
- 1 teaspoon smoked paprika
- 1/2 teaspoon salt
- 1/4 teaspoon black pepper
- Cooking spray or 2 tablespoons olive oil
📋 Instructions
- 1Preheat and Prep — Preheat your oven to 425°F (220°C). Line two large baking sheets with parchment paper or a silicone mat. Set up a breading station: three shallow bowls – one with flour, one with beaten eggs, and one with breadcrumbs mixed with garlic powder, smoked paprika, salt, and pepper.
- 2Slice the Onions — Peel the onions and slice them into 1/4-inch thick rings. Gently separate the rings. If you want milder flavor, soak them in ice water for 10 minutes, then pat dry with paper towels.
- 3Coat the Onions — Working in batches, dip each onion ring into the flour, shaking off excess. Then dip into the egg, letting any drips fall off. Finally, press into the breadcrumb mixture, ensuring an even coat. Place on the prepared baking sheets.
- 4Spray with Oil — Lightly spray the coated onion rings with cooking spray or drizzle with olive oil. This helps them brown and become crispy in the oven.
- 5Bake Until Golden — Bake for 15-20 minutes, flipping halfway through, until the crisps are golden brown and crunchy. The edges will look deeply browned and the coating will feel firm when lightly pressed. For extra crispiness, broil for the last 1-2 minutes, watching closely.
- 6Cool and Serve — Remove from the oven and let cool for 2-3 minutes on the baking sheet (they will crisp up more as they cool). Serve warm or at room temperature. Enjoy as a snack or as a topping for soups, salads, and burgers.

Marta writes about home organization and decluttering, focusing on simple systems that work for busy families. She shares practical tips for turning chaotic spaces into calm, functional areas.