
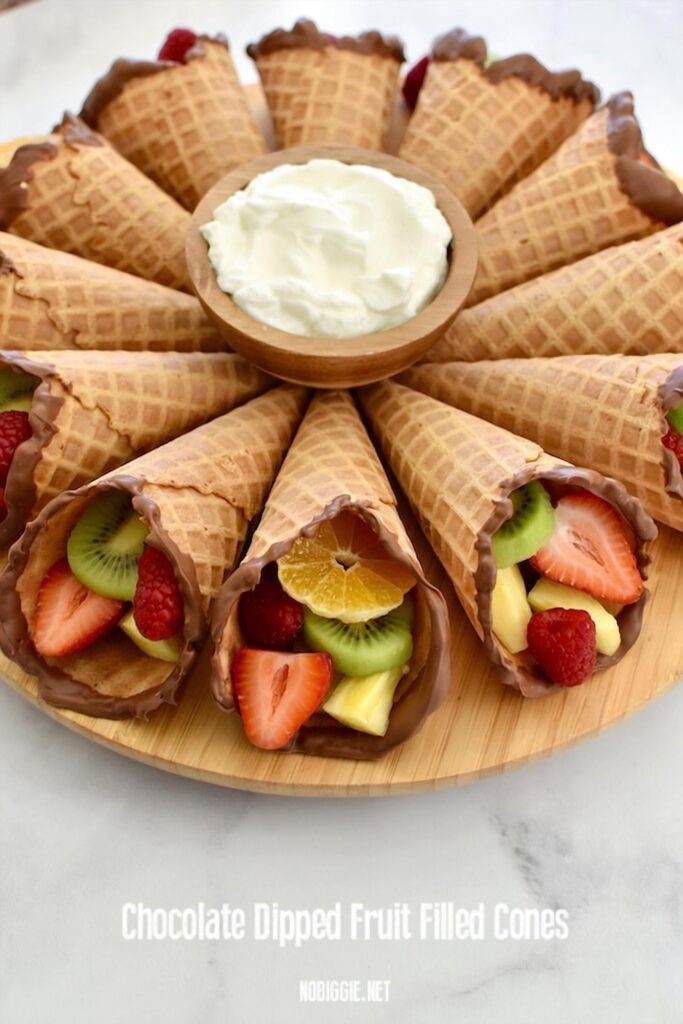
Chocolate Dipped Fruit Cones are the perfect marriage of crunchy, creamy, and fruity. Imagine a crisp sugar cone filled with juicy strawberries, banana slices, and blueberries, then dipped in silky dark chocolate and finished with a sprinkle of sea salt. It's a dessert that feels indulgent yet light, and it's surprisingly simple to assemble.
Advertisements1
The key to this recipe is the chocolate dip. By tempering the chocolate properly (or using a shortcut with coconut oil), you get a snappy, glossy shell that cracks when you bite into it. The cones hold the fruit beautifully, making them perfect for parties, picnics, or a fun weekend project with kids.
I've included a few pro tips to ensure your cones stay crisp and your chocolate doesn't seize. Whether you're a seasoned baker or a beginner, this recipe is forgiving and adaptable to whatever fruit you have on hand.
Why You'll Love This Recipe
About the Ingredients
6 sugar cones (store-bought or homemade)
Sugar cones are sturdy and hold up well. For a gluten-free option, use gluten-free cones or make your own from scratch.
1 cup (170g) semi-sweet chocolate chips
Use high-quality chocolate for the best flavor. You can substitute with dark or milk chocolate chips; if you prefer a sweeter dip, use milk chocolate.
1 tablespoon coconut oil (or vegetable oil)
This helps thin the chocolate for a smooth dip and gives it a nice shine. You can omit it if you're using chocolate that's already thin, but it's recommended for the best texture.
1 cup (about 150g) fresh strawberries, hulled and sliced
Choose ripe, sweet strawberries. If they're not in season, use other berries like raspberries or blackberries.
1 large banana, sliced into 1/4-inch rounds
Use a ripe but firm banana so it doesn't get mushy. You can also use mango or kiwi for a tropical twist.
1/2 cup (about 75g) fresh blueberries
Fresh blueberries are best; if using frozen, thaw and pat dry before using to prevent excess moisture.
1/4 cup (60g) white chocolate chips (optional, for drizzling)
This is for decoration. You can skip it or use a contrasting chocolate like butterscotch chips.
Pinch of flaky sea salt (optional)
A sprinkle of sea salt enhances the chocolate flavor and balances the sweetness. Use Maldon or any flaky sea salt.
Tips & Tricks
- Make sure the fruit is completely dry before dipping. Any moisture will cause the chocolate to seize and become grainy.
- When dipping the cones, hold them at an angle and rotate to coat evenly. Tap off excess chocolate to avoid pooling at the bottom.
- If the chocolate starts to thicken while you're working, reheat it gently in the microwave for 10-15 seconds and stir.
Pro Tips
Step-by-Step Instructions
1. Prep the fruit
Wash and dry the strawberries and blueberries thoroughly. Slice the strawberries and banana into thin, even pieces. Pat all fruit dry with paper towels to remove excess moisture.
2. Fill the cones
Gently stuff the fruit into each sugar cone, alternating the types of fruit for a colorful look. Don't overpack – you want the fruit to stay in place but still be easy to bite into.
3. Melt the chocolate
In a microwave-safe bowl, combine the semi-sweet chocolate chips and coconut oil. Microwave in 30-second intervals, stirring after each, until smooth and fully melted. (Alternatively, use a double boiler on the stovetop over simmering water.)
4. Dip the cones
Holding the cone by its pointed end, dip the top half into the melted chocolate, tilting and rotating to coat evenly. Lift and let the excess drip off. Place the dipped cone on a parchment-lined baking sheet.
5. Add optional drizzle
If using white chocolate, melt it in a small microwave-safe bowl in 20-second bursts. Use a fork or a piping bag to drizzle over the chocolate-dipped cones.
6. Chill to set
Refrigerate the cones for 10-15 minutes, or until the chocolate is firm and has a shiny finish. If you prefer a softer set, you can leave them at room temperature for about 30 minutes.
7. Finish and serve
Just before serving, sprinkle a pinch of flaky sea salt over the chocolate if desired. Serve immediately, or store in the refrigerator for up to 4 hours.
Delicious Variations
Tropical Cones
Use pineapple chunks, mango slices, and kiwi; dip in white chocolate and roll in toasted coconut.
Peanut Butter Drizzle
Add 1 tablespoon of peanut butter to the melted chocolate for a nutty twist.
Yogurt Dip
For a healthier option, dip the fruit cones in Greek yogurt sweetened with honey instead of chocolate.
How to Store Chocolate Dipped Fruit Cones
Refrigerator
Store the cones in an airtight container in the refrigerator for up to 4 hours. The cones will soften over time, so it's best to serve them within a few hours.
Freezer
You can freeze the cones for up to 1 month. Place them in a single layer in a freezer-safe container. Thaw in the refrigerator for 30 minutes before serving.
Reheating
If the chocolate loses its shine, you can re-dip them quickly in melted chocolate or serve them cold – they taste great straight from the fridge.
Frequently Asked Questions
Q: Can I use frozen fruit?
Yes, but you must thaw and thoroughly pat dry the fruit first to prevent excess moisture from making the cones soggy and causing the chocolate to seize.
Q: How do I keep the cones from getting soggy?
The key is to keep the fruit as dry as possible and avoid overfilling. Also, chilling the filled cones before dipping helps create a barrier that slows moisture absorption.
Q: Can I make these ahead of time?
You can assemble the cones a few hours ahead and store them in the fridge. However, they are best eaten within 4 hours, as the cones will soften over time.
Q: What if I don't have sugar cones?
You can use waffle cones, wafer cones, or even rolled crepes. If using wafer cones, be gentle as they are more fragile.
If you try this recipe, I'd love to hear how it goes! Tag me in your photos or leave a comment below. And remember, the best part is getting creative with your favorite fruits. Happy dipping!
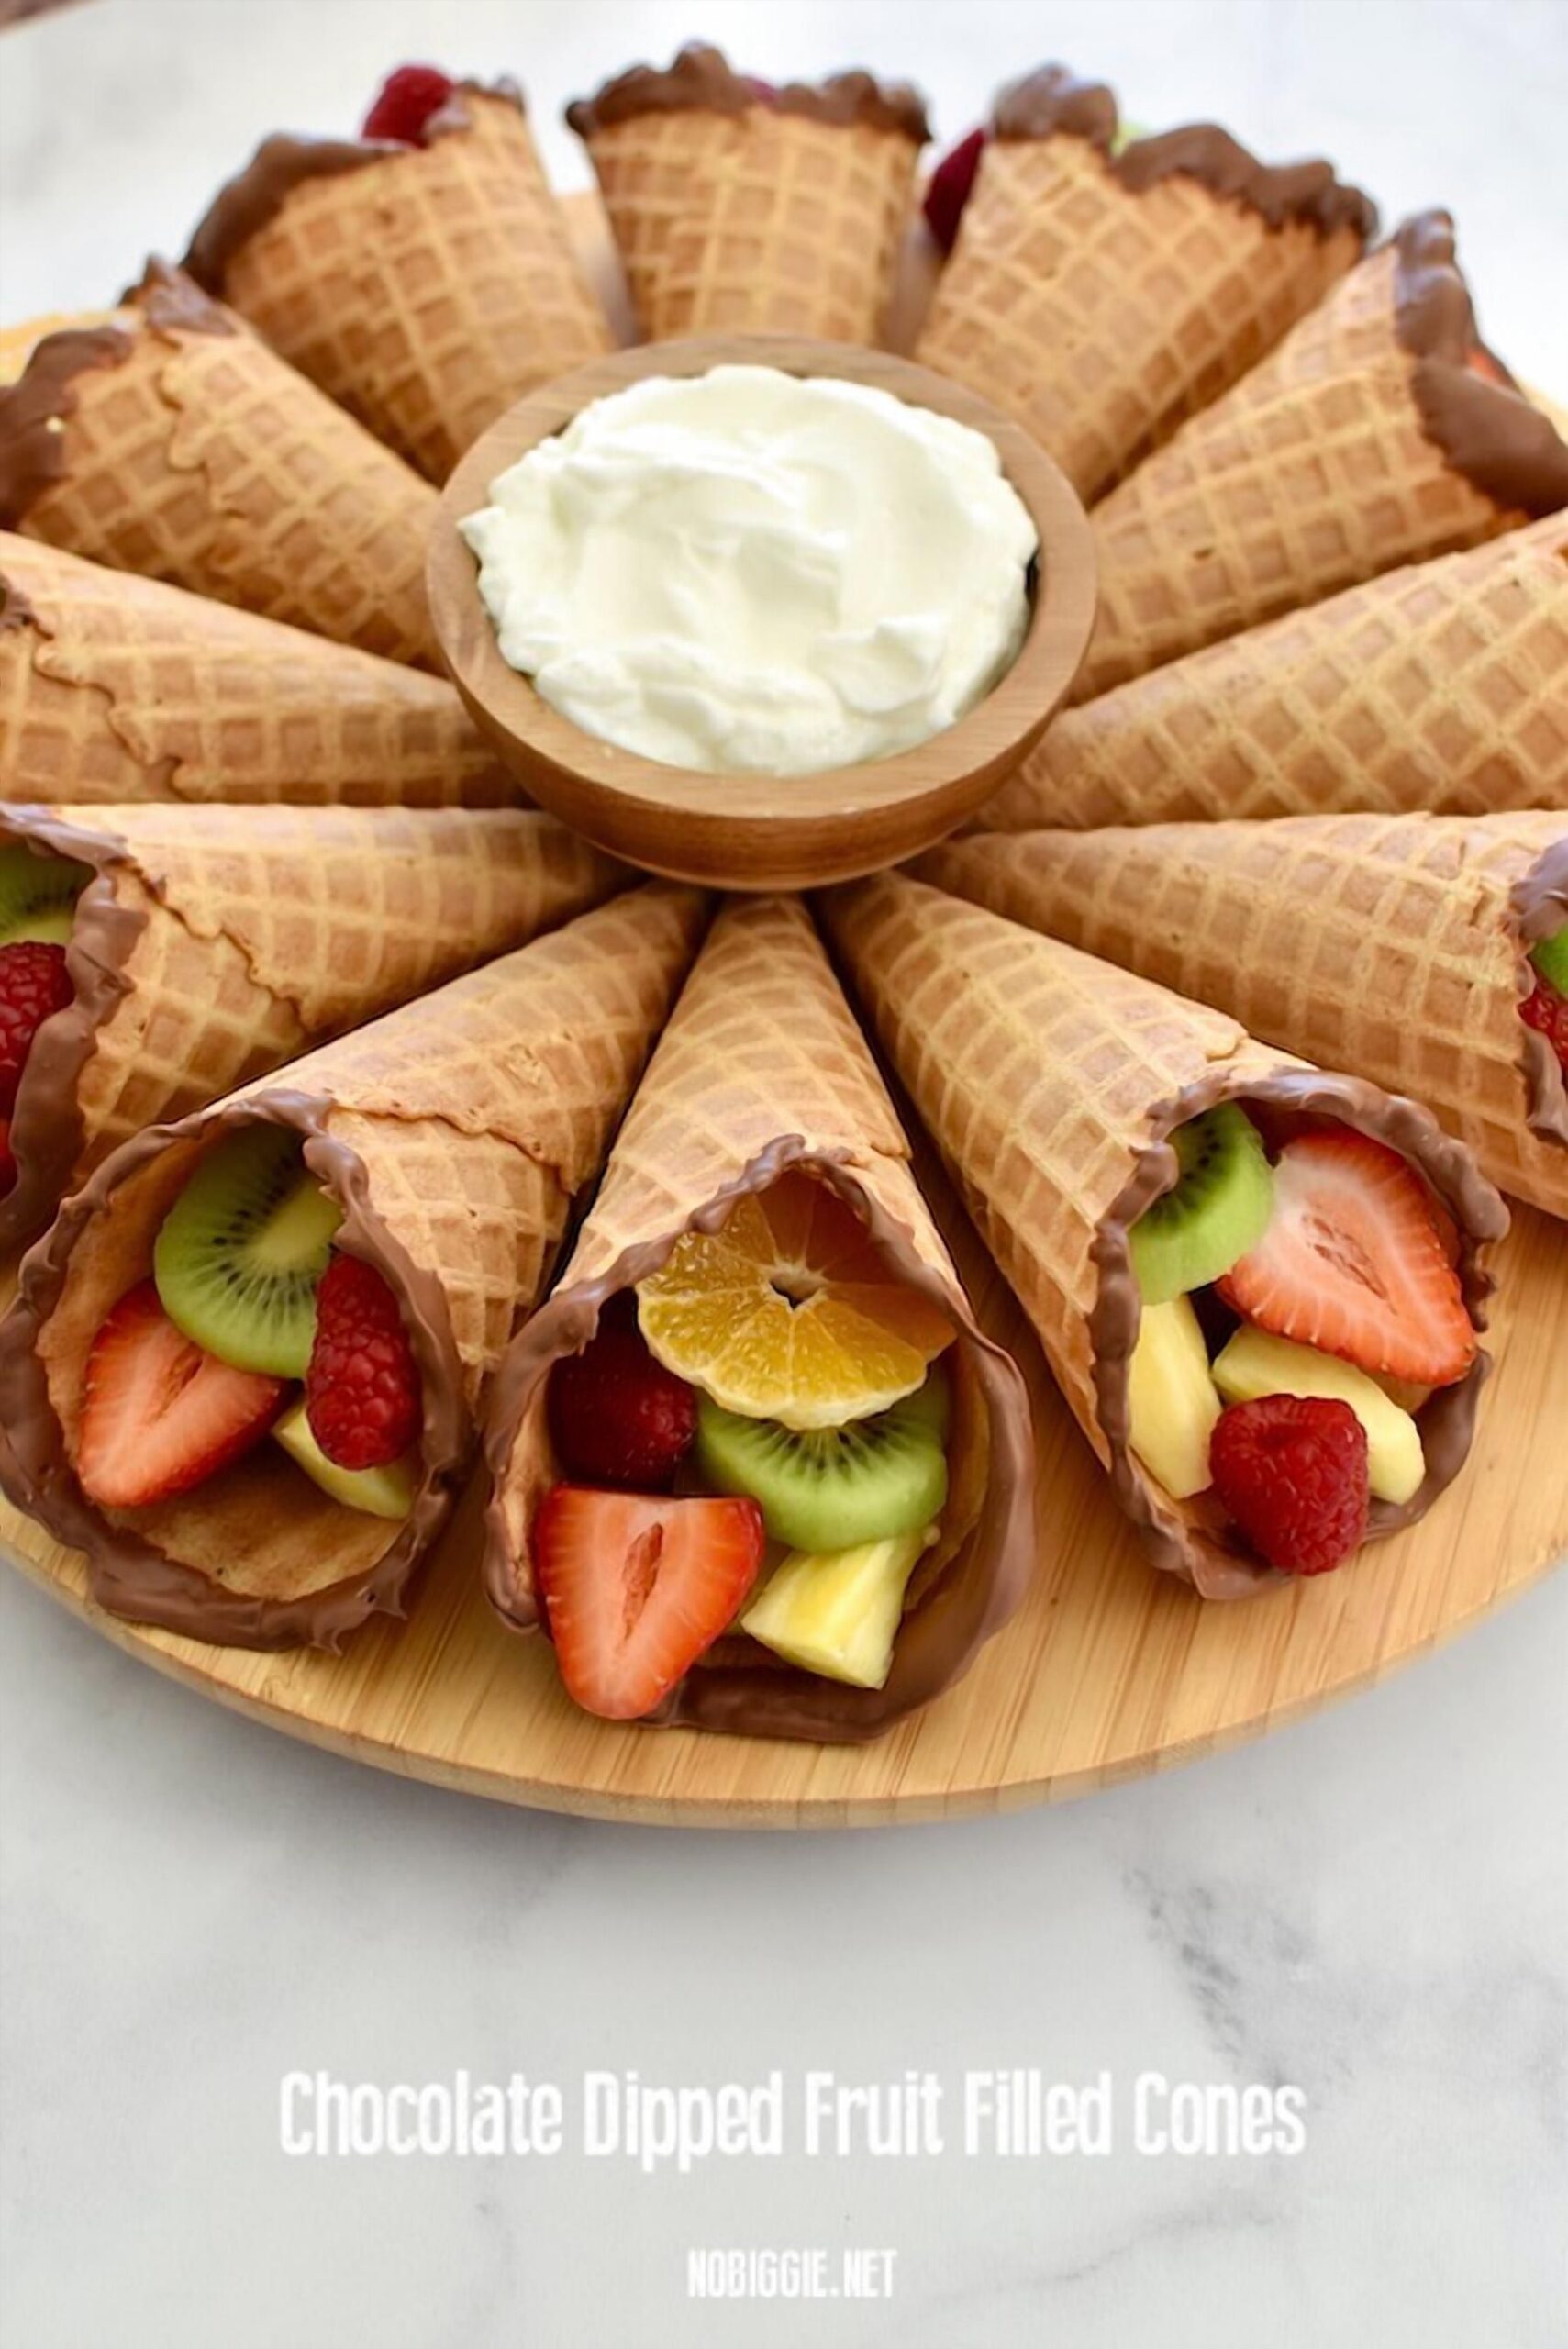
Chocolate Dipped Fruit Cones
Chocolate Dipped Fruit Cones: crisp sugar cones filled with fresh fruit and dipped in rich chocolate. A fun, easy dessert.
🧂 Ingredients
- 6 sugar cones (store-bought or homemade)
- 1 cup (170g) semi-sweet chocolate chips
- 1 tablespoon coconut oil (or vegetable oil)
- 1 cup (about 150g) fresh strawberries, hulled and sliced
- 1 large banana, sliced into 1/4-inch rounds
- 1/2 cup (about 75g) fresh blueberries
- 1/4 cup (60g) white chocolate chips (optional, for drizzling)
- Pinch of flaky sea salt (optional)
📋 Instructions
- 1Prep the fruit — Wash and dry the strawberries and blueberries thoroughly. Slice the strawberries and banana into thin, even pieces. Pat all fruit dry with paper towels to remove excess moisture.
- 2Fill the cones — Gently stuff the fruit into each sugar cone, alternating the types of fruit for a colorful look. Don't overpack – you want the fruit to stay in place but still be easy to bite into.
- 3Melt the chocolate — In a microwave-safe bowl, combine the semi-sweet chocolate chips and coconut oil. Microwave in 30-second intervals, stirring after each, until smooth and fully melted. (Alternatively, use a double boiler on the stovetop over simmering water.)
- 4Dip the cones — Holding the cone by its pointed end, dip the top half into the melted chocolate, tilting and rotating to coat evenly. Lift and let the excess drip off. Place the dipped cone on a parchment-lined baking sheet.
- 5Add optional drizzle — If using white chocolate, melt it in a small microwave-safe bowl in 20-second bursts. Use a fork or a piping bag to drizzle over the chocolate-dipped cones.
- 6Chill to set — Refrigerate the cones for 10-15 minutes, or until the chocolate is firm and has a shiny finish. If you prefer a softer set, you can leave them at room temperature for about 30 minutes.
- 7Finish and serve — Just before serving, sprinkle a pinch of flaky sea salt over the chocolate if desired. Serve immediately, or store in the refrigerator for up to 4 hours.

Liam writes about personal finance for young professionals, covering budgeting, saving, and investing basics. He focuses on debunking myths and building long-term financial habits.