
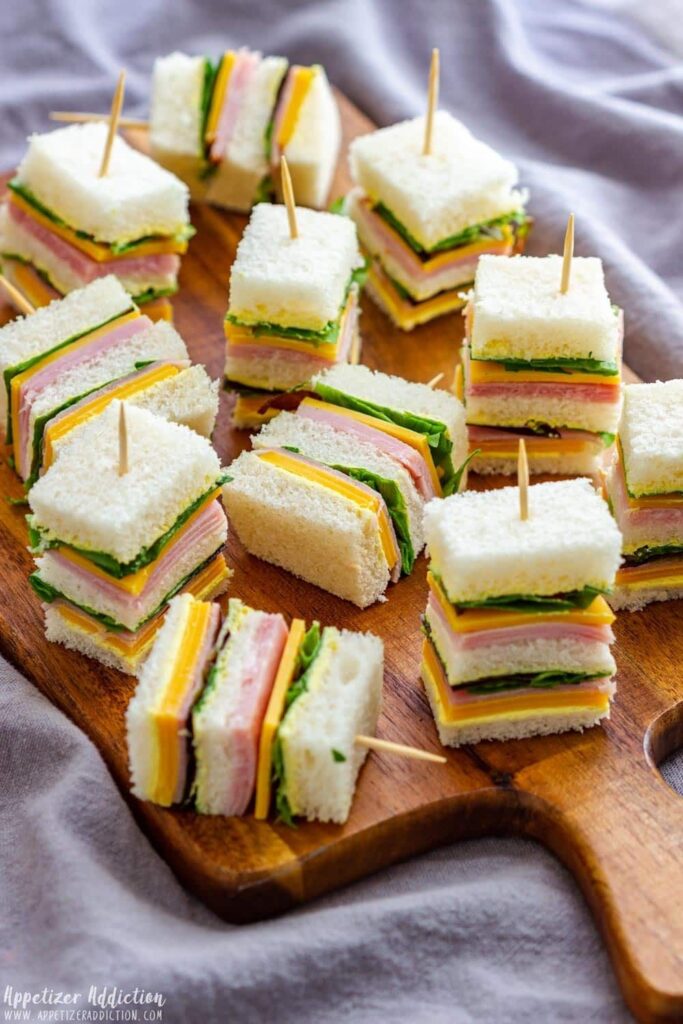
Have you ever stared at a table full of party food, hoping your kids will actually eat something besides chips? I remember those days, juggling plates and napkins, trying to find something that would please both the little ones and the adults. That's why I love creating dishes that are as fun to look at as they are to eat, and these Colorful Mini Sandwiches are exactly that.
Advertisements1
Inspired by the vibrant street food stalls of Lagos and the playful bento boxes of Tokyo, these sandwiches celebrate color and flavor. They're not just about the bread and filling; they're about making mealtime an adventure. Whether it's a birthday party, a picnic, or a simple after-school snack, these little bites bring a smile to everyone's face.
There's no one 'right' way to make these sandwiches. You can mix and match fillings based on what your family loves or what's in your fridge. The key is to have fun and let your creativity shine. Let's dive into a recipe that's as flexible as it is delicious.
Why You'll Love This Recipe
About the Ingredients
12 slices soft white bread (or whole wheat)
Soft bread is easier to roll. Try whole wheat for a healthier twist.
4 oz (115g) cream cheese, softened
Use full-fat for best flavor; low-fat works but may be less creamy.
1/4 cup (60g) plain Greek yogurt
Adds tang and creaminess. Substitute with sour cream if needed.
1/2 cup (75g) finely chopped bell peppers (red, yellow, orange)
Use a mix of colors for visual appeal. Any sweet pepper works.
1/2 cup (75g) finely chopped cucumber, seeded
Seeding prevents sogginess. English cucumber is ideal.
1/4 cup (40g) finely chopped red onion
Soak in cold water 10 minutes to mellow the bite.
1/2 cup (60g) shredded carrots
Pre-shredded saves time, but fresh shreds are crunchier.
1/4 cup (15g) fresh parsley, chopped
Substitute with cilantro or dill for different flavor.
1/2 tsp garlic powder
Fresh minced garlic (1 clove) can be used for a stronger kick.
1/4 tsp salt
Adjust to taste; sea salt or kosher works.
1/8 tsp black pepper
Freshly ground is best.
Assorted colorful vegetables for garnish (cherry tomatoes, olives, herbs)
Get creative – use what you have for a pretty top.
Tips & Tricks
Use slightly stale bread
Fresh bread can tear when rolling. Day-old bread holds up better.
Press gently when rolling
Too much pressure can squeeze out the filling. Roll firmly but gently.
Chill before cutting
Refrigerate the rolled sandwiches for 15-20 minutes to make slicing easier and cleaner.
Pro Tips
Step-by-Step Instructions
1. Mix the Filling
In a medium bowl, combine cream cheese, Greek yogurt, garlic powder, salt, and pepper. Stir until smooth and creamy.
2. Add the Veggies
Fold in the chopped bell peppers, cucumber, red onion, carrots, and parsley. Mix well to distribute evenly.
3. Flatten the Bread
Using a rolling pin, flatten each slice of bread to about 1/4-inch thickness. This makes rolling easier and prevents cracks.
4. Spread the Filling
Spread about 1 tablespoon of the filling evenly over each slice, leaving a small border at the edges.
5. Roll the Sandwiches
Starting from one edge, roll each slice tightly into a log. Press gently to seal the seam.
6. Chill the Rolls
Wrap the rolls in plastic wrap and refrigerate for at least 15-20 minutes. This helps them hold their shape when slicing.
7. Slice into Bites
Using a sharp knife, slice each roll into 1-inch pieces. Arrange on a platter cut-side up.
8. Garnish and Serve
Top each mini sandwich with a small piece of cherry tomato, olive, or fresh herb for a pop of color. Serve immediately or keep chilled.
Delicious Variations
Hummus and Veggie
Swap cream cheese mixture for hummus and add sliced avocado.
Chicken Salad
Mix shredded chicken with mayo, celery, and grapes for a hearty version.
Smoked Salmon
Use cream cheese with dill and top with smoked salmon slices.
How to Store Colorful Mini Sandwiches
Refrigerator
Store in an airtight container for up to 2 days. Place a damp paper towel on top to keep them moist.
Freezer
Freeze un-sliced rolls wrapped tightly in plastic wrap for up to 1 month. Thaw in the refrigerator before slicing.
Reheating
These are best served cold or at room temperature. Do not microwave as they will become soggy.
Frequently Asked Questions
Q: Can I make these sandwiches ahead of time?
Yes, you can assemble the rolls a day in advance and store them in the refrigerator. Slice just before serving for the best texture.
Q: What bread works best for rolling?
Soft white or whole wheat sandwich bread works best. Avoid crusty or artisan bread as it will crack when rolled.
Q: How do I keep the sandwiches from getting soggy?
Make sure to pat dry the cucumber and bell peppers well. Also, chilling the rolls helps set the cream cheese, which acts as a barrier.
Q: Can I use a different filling?
Absolutely! Try tuna salad, egg salad, or even a peanut butter and jelly version for a sweet twist.
So next time you're planning a gathering or just want to brighten a weekday lunch, give these Colorful Mini Sandwiches a try. And remember, the best recipes are the ones that bring people together. What will you put in yours? With curiosity, Aisha.
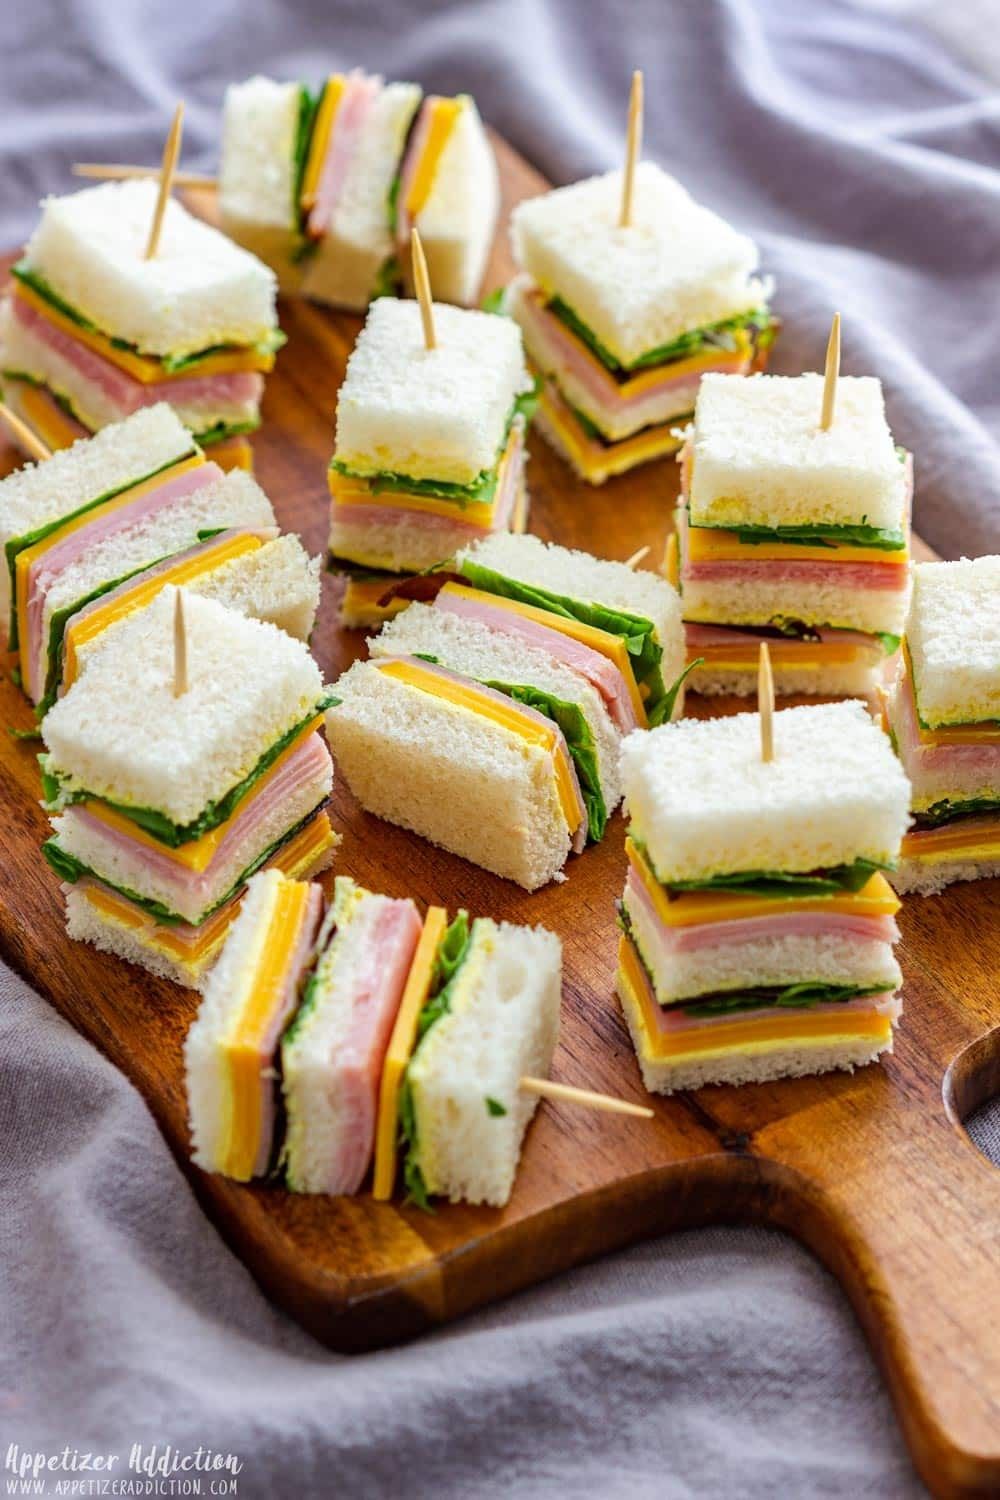
Colorful Mini Sandwiches
Colorful Mini Sandwiches are vibrant, bite-sized party bites that are easy to assemble, perfect for kids and gatherings.
🧂 Ingredients
- 12 slices soft white bread (or whole wheat)
- 4 oz (115g) cream cheese, softened
- 1/4 cup (60g) plain Greek yogurt
- 1/2 cup (75g) finely chopped bell peppers (red, yellow, orange)
- 1/2 cup (75g) finely chopped cucumber, seeded
- 1/4 cup (40g) finely chopped red onion
- 1/2 cup (60g) shredded carrots
- 1/4 cup (15g) fresh parsley, chopped
- 1/2 tsp garlic powder
- 1/4 tsp salt
- 1/8 tsp black pepper
- Assorted colorful vegetables for garnish (cherry tomatoes, olives, herbs)
📋 Instructions
- 1Mix the Filling — In a medium bowl, combine cream cheese, Greek yogurt, garlic powder, salt, and pepper. Stir until smooth and creamy.
- 2Add the Veggies — Fold in the chopped bell peppers, cucumber, red onion, carrots, and parsley. Mix well to distribute evenly.
- 3Flatten the Bread — Using a rolling pin, flatten each slice of bread to about 1/4-inch thickness. This makes rolling easier and prevents cracks.
- 4Spread the Filling — Spread about 1 tablespoon of the filling evenly over each slice, leaving a small border at the edges.
- 5Roll the Sandwiches — Starting from one edge, roll each slice tightly into a log. Press gently to seal the seam.
- 6Chill the Rolls — Wrap the rolls in plastic wrap and refrigerate for at least 15-20 minutes. This helps them hold their shape when slicing.
- 7Slice into Bites — Using a sharp knife, slice each roll into 1-inch pieces. Arrange on a platter cut-side up.
- 8Garnish and Serve — Top each mini sandwich with a small piece of cherry tomato, olive, or fresh herb for a pop of color. Serve immediately or keep chilled.

Aisha explores parenting and child development through a lens of cultural diversity and emotional intelligence. She writes about raising curious kids in a connected world, blending practical strategies with reflective questions. Her pieces encourage mindful, responsive parenting without prescriptive rules.