
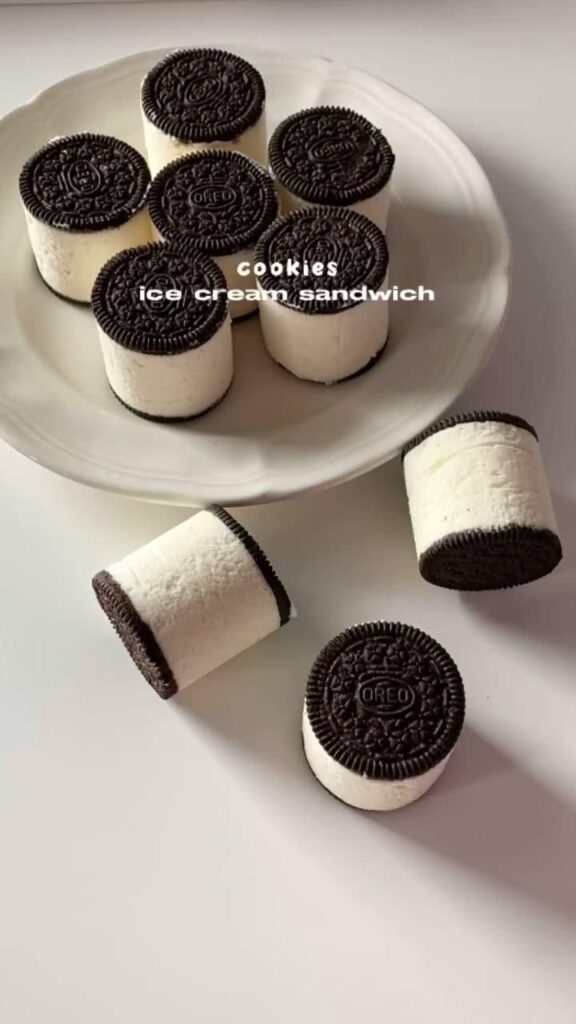
There's a certain magic in the contrast between a warm, crisp cookie and cold, creamy ice cream. This recipe captures that magic in a handheld, customizable form that's perfect for parties, summer afternoons, or anytime you need a smile.
Advertisements1
Think of these as edible bowls: a sturdy, buttery cookie shell that holds your favorite ice cream without getting soggy. It's like a waffle cone met a chocolate chip cookie and decided to settle down. The process is straightforward, and the result is a dessert that looks impressive but is secretly simple.
I'll guide you through making the cookie cups, baking them to that perfect golden edge, and assembling them with your choice of ice cream. Whether you're a seasoned baker or a curious beginner, this recipe is designed to succeed.
Why You'll Love This Recipe
About the Ingredients
1 1/2 cups (190g) all-purpose flour
Provides structure. For a gluten-free version, use a 1:1 gluten-free baking flour blend.
1/2 teaspoon baking soda
Helps the cookies spread and become crisp. Ensure it's fresh for best rise.
1/2 teaspoon salt
Balances sweetness and enhances flavor. Use fine sea salt for even distribution.
1/2 cup (115g) unsalted butter, softened
Adds richness and helps create a tender crumb. You can use salted butter but reduce added salt to 1/4 teaspoon.
1/2 cup (100g) granulated sugar
Sweetens and helps with crispness. You can substitute with coconut sugar for a deeper flavor.
1/2 cup (110g) packed brown sugar
Adds moisture and a chewy texture. Dark brown sugar gives a more molasses-like flavor.
1 large egg
Binds ingredients and adds structure. For an egg-free version, use a flax egg (1 tbsp ground flax + 3 tbsp water).
1 teaspoon vanilla extract
Enhances flavor. Use pure vanilla extract for the best taste, or vanilla bean paste for specks.
1 cup (170g) chocolate chips (or chunks)
Adds pockets of melty chocolate. Try chopped dark chocolate or white chocolate for variety.
1 pint (473ml) your favorite ice cream, softened slightly
For filling. Choose a high-quality ice cream; if it's too hard, let it sit at room temperature for 10 minutes.
Tips & Tricks
Don't overbake
The cups should be golden brown around the edges but still slightly soft in the center. They will continue to crisp as they cool.
- For perfectly shaped cups, press the dough against the back of a muffin tin. Use a small measuring cup to press it evenly up the sides, ensuring the rim is slightly thicker for stability.
- If the dough sticks to your fingers, lightly flour them or use a piece of plastic wrap to press the dough.
Pro Tips
Step-by-Step Instructions
1. Preheat Oven
Preheat your oven to 350°F (175°C). Lightly grease a 12-cup muffin tin.
2. Mix Dry Ingredients
In a medium bowl, whisk together the flour, baking soda, and salt. Set aside.
3. Cream Butter and Sugars
In a large bowl, beat the softened butter, granulated sugar, and brown sugar until light and fluffy, about 2-3 minutes. Add the egg and vanilla extract, beating until well combined.
4. Combine Wet and Dry
Gradually add the dry ingredients to the wet mixture, mixing until just combined. Fold in the chocolate chips.
5. Press Dough into Muffin Tin
Scoop about 2 tablespoons of dough into each muffin cup. Using your fingers or a small measuring cup, press the dough up the sides to form a cup shape, leaving a small well in the center. Make the rim slightly thicker for stability.
6. Bake the Cookie Cups
Bake for 12-15 minutes, until the edges are golden brown and the centers are set. The cups will puff slightly; that's okay. Remove from oven and immediately use a small spoon or the back of a mini spatula to press down any puffed centers to maintain the cup shape.
7. Cool and Remove
Let the cups cool in the pan for 5 minutes, then carefully remove them and transfer to a wire rack to cool completely.
8. Fill with Ice Cream
Once completely cool, fill each cookie cup with a scoop of softened ice cream. You can top with additional chocolate chips, sprinkles, or a drizzle of chocolate sauce.
9. Serve and Enjoy
Serve immediately for a crisp texture, or freeze for up to 1 hour to firm up the ice cream before serving.
Delicious Variations
Peanut Butter Cup
Add 1/2 cup of peanut butter chips to the dough and fill with chocolate peanut butter ice cream.
Mint Chocolate
Add 1/2 teaspoon peppermint extract to the dough and fill with mint chocolate chip ice cream.
S'mores
Swap chocolate chips for chopped graham crackers and fill with chocolate ice cream, then top with mini marshmallows.
How to Store Diy Ice Cream Cookie Recipe
Refrigerator
Store unfilled cookie cups in an airtight container at room temperature for up to 3 days.
Freezer
Assembled cookie cups can be frozen in a single layer in an airtight container for up to 2 weeks. Let stand at room temperature for 5 minutes before serving.
Reheating
To refresh crispness, place unfilled cups in a 350°F (175°C) oven for 3-5 minutes. Do not reheat filled cups.
Frequently Asked Questions
Q: Can I make these gluten-free?
Yes, simply substitute the all-purpose flour with a 1:1 gluten-free baking flour blend. The texture will be slightly different but still delicious.
Q: Why did my cookie cups spread too much?
This usually happens if the dough is too warm or the butter was too soft. Chill the dough for 30 minutes before pressing and ensure the butter is softened but not melted.
Q: Can I use a different type of pan?
Absolutely. You can use a mini muffin tin for bite-sized cups, or even shape the dough over the back of a muffin tin to create deeper bowls. Adjust baking time accordingly.
Q: How do I keep the cookie cups from getting soggy?
The key is to ensure the cups are completely cool before adding ice cream. You can also brush the inside with a thin layer of melted chocolate, which acts as a barrier.
Q: Can I prepare these ahead of time?
Yes, you can bake the cookie cups up to 3 days ahead and store them in an airtight container. Assemble with ice cream just before serving for the best texture.
I hope you enjoy making these delightful ice cream cookie cups as much as I do. They're a perfect treat for any occasion, and the possibilities for customization are endless. If you try this recipe, let me know how it turns out in the comments below! Happy baking, and remember: keep your money moving.
Diy Ice Cream Cookie Recipe
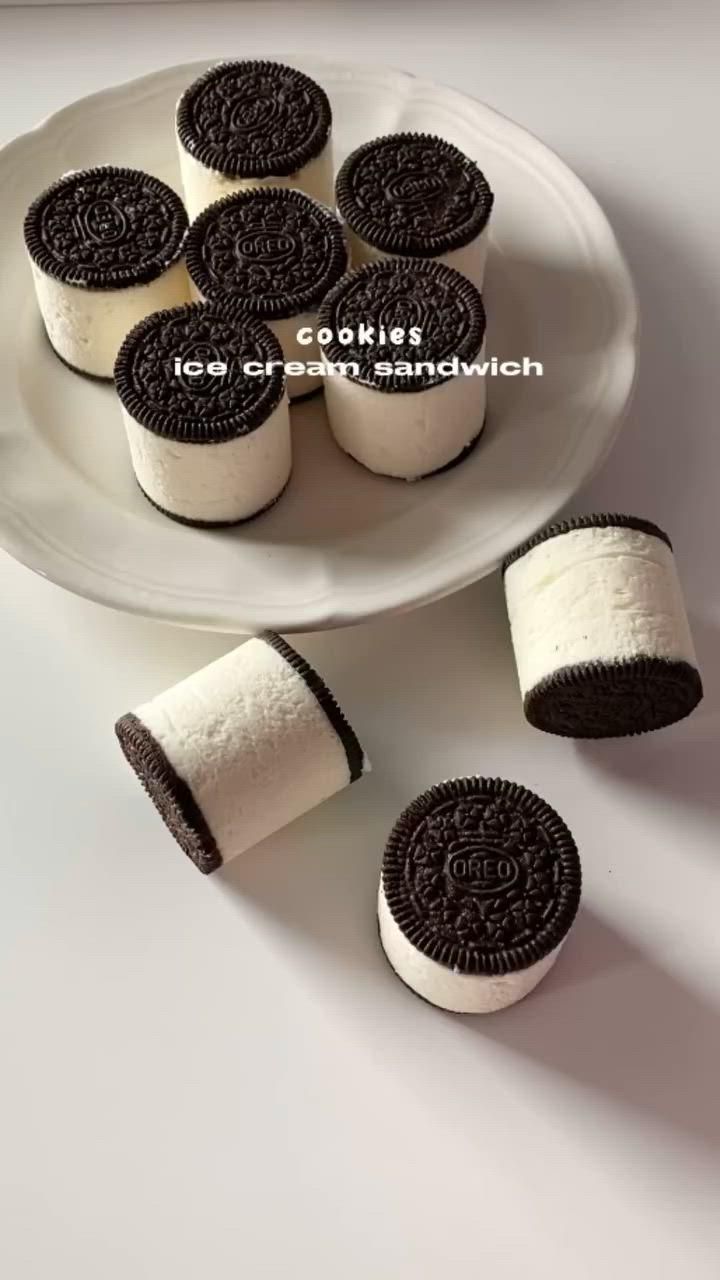
Diy Ice Cream Cookie Recipe: crisp cookie cups filled with creamy ice cream, a fun and easy homemade treat.
🧂 Ingredients
- 1 1/2 cups (190g) all-purpose flour
- 1/2 teaspoon baking soda
- 1/2 teaspoon salt
- 1/2 cup (115g) unsalted butter, softened
- 1/2 cup (100g) granulated sugar
- 1/2 cup (110g) packed brown sugar
- 1 large egg
- 1 teaspoon vanilla extract
- 1 cup (170g) chocolate chips (or chunks)
- 1 pint (473ml) your favorite ice cream, softened slightly
📋 Instructions
- 1Preheat Oven — Preheat your oven to 350°F (175°C). Lightly grease a 12-cup muffin tin.
- 2Mix Dry Ingredients — In a medium bowl, whisk together the flour, baking soda, and salt. Set aside.
- 3Cream Butter and Sugars — In a large bowl, beat the softened butter, granulated sugar, and brown sugar until light and fluffy, about 2-3 minutes. Add the egg and vanilla extract, beating until well combined.
- 4Combine Wet and Dry — Gradually add the dry ingredients to the wet mixture, mixing until just combined. Fold in the chocolate chips.
- 5Press Dough into Muffin Tin — Scoop about 2 tablespoons of dough into each muffin cup. Using your fingers or a small measuring cup, press the dough up the sides to form a cup shape, leaving a small well in the center. Make the rim slightly thicker for stability.
- 6Bake the Cookie Cups — Bake for 12-15 minutes, until the edges are golden brown and the centers are set. The cups will puff slightly; that's okay. Remove from oven and immediately use a small spoon or the back of a mini spatula to press down any puffed centers to maintain the cup shape.
- 7Cool and Remove — Let the cups cool in the pan for 5 minutes, then carefully remove them and transfer to a wire rack to cool completely.
- 8Fill with Ice Cream — Once completely cool, fill each cookie cup with a scoop of softened ice cream. You can top with additional chocolate chips, sprinkles, or a drizzle of chocolate sauce.
- 9Serve and Enjoy — Serve immediately for a crisp texture, or freeze for up to 1 hour to firm up the ice cream before serving.

Liam writes about personal finance for young professionals, covering budgeting, saving, and investing basics. He focuses on debunking myths and building long-term financial habits.