
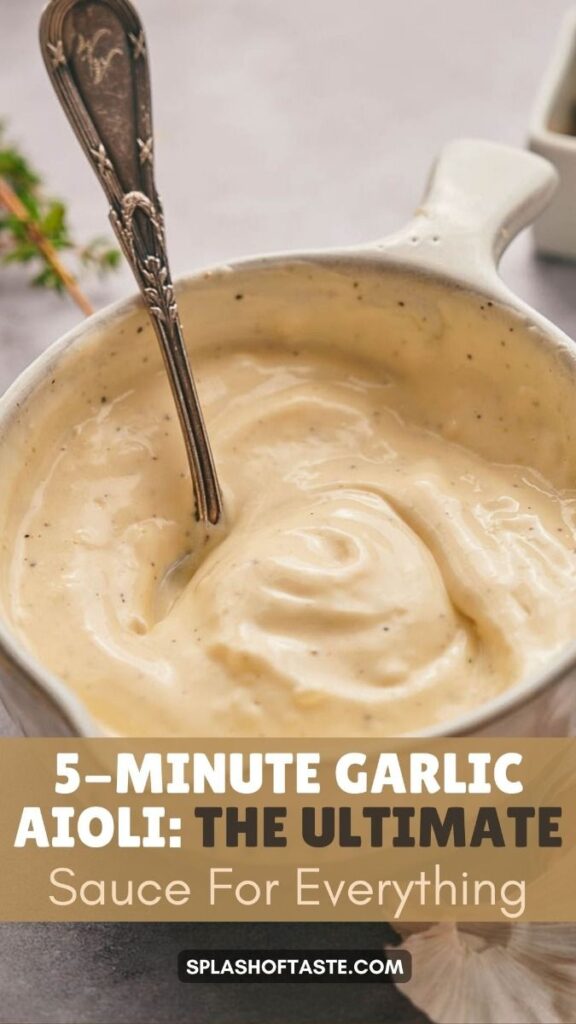
There are two types of people in this world: those who think aioli is just fancy mayonnaise, and those who have tasted real aioli and never looked back. The difference? Real aioli gets its punch from fresh garlic, not just a hint of powder. This simple recipe bridges the gap – it's quick enough for a weeknight but has that authentic, robust flavor that elevates everything it touches.
Advertisements1
I'm going to show you the classic French technique of emulsifying oil into egg yolks, but with a modern twist that makes it foolproof. Think of it as building a suspension bridge: the egg yolk is the anchor, and you're slowly adding oil to create a stable, creamy structure. Get it right, and you'll have a condiment that's more versatile than ketchup and more impressive than store-bought.
Whether you're slathering it on a BLT, dipping crispy fries, or using it as a spread for a grilled cheese, this aioli will become your secret weapon. And because it comes together in minutes, you'll never need to buy the jarred stuff again.
Why You'll Love This Recipe
About the Ingredients
1 large egg yolk
The yolk is the emulsifier that binds the oil and water. Use pasteurized egg if you're concerned about raw eggs.
1 teaspoon Dijon mustard
Adds flavor and helps stabilize the emulsion. Substitute with yellow mustard or a pinch of dry mustard.
1-2 cloves garlic, finely grated
Grating releases more flavor. Use a microplane for a paste. If you prefer a milder flavor, roast the garlic first.
1 tablespoon fresh lemon juice
Brightens the flavor and helps thin the aioli. Substitute with white wine vinegar or apple cider vinegar.
1/2 cup (120 ml) neutral oil (like canola or grapeseed)
Use a neutral oil so the garlic shines. Extra virgin olive oil can be used, but it will make a stronger, more bitter aioli.
1/4 teaspoon salt, or to taste
Enhances all the flavors. Use fine sea salt for even distribution.
1 teaspoon water (optional)
If the aioli is too thick, a little water helps loosen it to your desired consistency.
Tips & Tricks
- Make sure all ingredients are at room temperature – cold ingredients can cause the emulsion to break.
- Add the oil very slowly, drop by drop at first, to ensure a stable emulsion. Patience is key.
- If the aioli breaks, don't panic. Start a new yolk in a clean bowl and slowly whisk in the broken mixture.
Pro Tips
Step-by-Step Instructions
1. Prep Your Ingredients
Bring the egg and lemon juice to room temperature. Grate the garlic into a paste using a microplane. This ensures a smooth, even garlic flavor.
2. Whisk the Base
In a medium bowl, whisk together the egg yolk, Dijon mustard, grated garlic, lemon juice, and salt. Whisk until well combined and slightly frothy.
3. Add Oil Drop by Drop
Begin adding the oil a few drops at a time while whisking constantly. This is crucial for the emulsion to form – think of it as building a foundation. If you add too much at once, the mixture will separate.
4. Slowly Stream the Oil
Once the mixture starts to thicken and look creamy (after about 1/4 of the oil), you can add the oil in a slow, steady stream while whisking continuously. Continue until all oil is incorporated and the aioli is thick and glossy.
5. Adjust Consistency
If the aioli is too thick, whisk in 1 teaspoon of water to loosen it. Taste and adjust seasoning with more salt or lemon juice if needed.
6. Chill and Serve
Transfer the aioli to a serving bowl. Cover and refrigerate for at least 30 minutes to allow the flavors to meld. Serve chilled or at room temperature.
Delicious Variations
Herb Aioli
Stir in 1 tablespoon of chopped fresh herbs like parsley, chives, or dill for a fresh twist.
Spicy Aioli
Add 1 teaspoon of sriracha or a pinch of cayenne pepper for a kick.
Roasted Garlic Aioli
Substitute roasted garlic for raw garlic for a sweeter, mellow flavor.
How to Store Simple Garlic Aioli Recipe
Refrigerator
Store in an airtight container in the refrigerator for up to 3 days. The flavor will intensify over time.
Freezer
Freezing is not recommended as the emulsion may break upon thawing.
Reheating
No reheating needed – serve cold or at room temperature.
Frequently Asked Questions
Q: Can I use pasteurized eggs for aioli?
Yes, pasteurized eggs are safe for raw consumption. If you're concerned about raw eggs, use pasteurized egg yolks from the store.
Q: Why did my aioli break?
Aioli breaks when the oil is added too quickly or the ingredients are cold. To fix it, start a fresh yolk and slowly whisk in the broken mixture.
Q: Can I make aioli without mustard?
Yes, you can omit the mustard, but it helps stabilize the emulsion. Use a pinch of salt and a few drops of lemon juice instead.
Q: What can I use instead of lemon juice?
White wine vinegar or apple cider vinegar work well. Use the same amount.
Q: How long does aioli last in the fridge?
Properly stored, aioli lasts up to 3 days in the refrigerator. Discard if it develops an off smell or appearance.
Now that you've mastered the art of aioli, why stop there? Try it on my crispy oven fries or as a spread for a gourmet burger. And remember, the best condiments are the ones you make yourself. Keep your money moving.
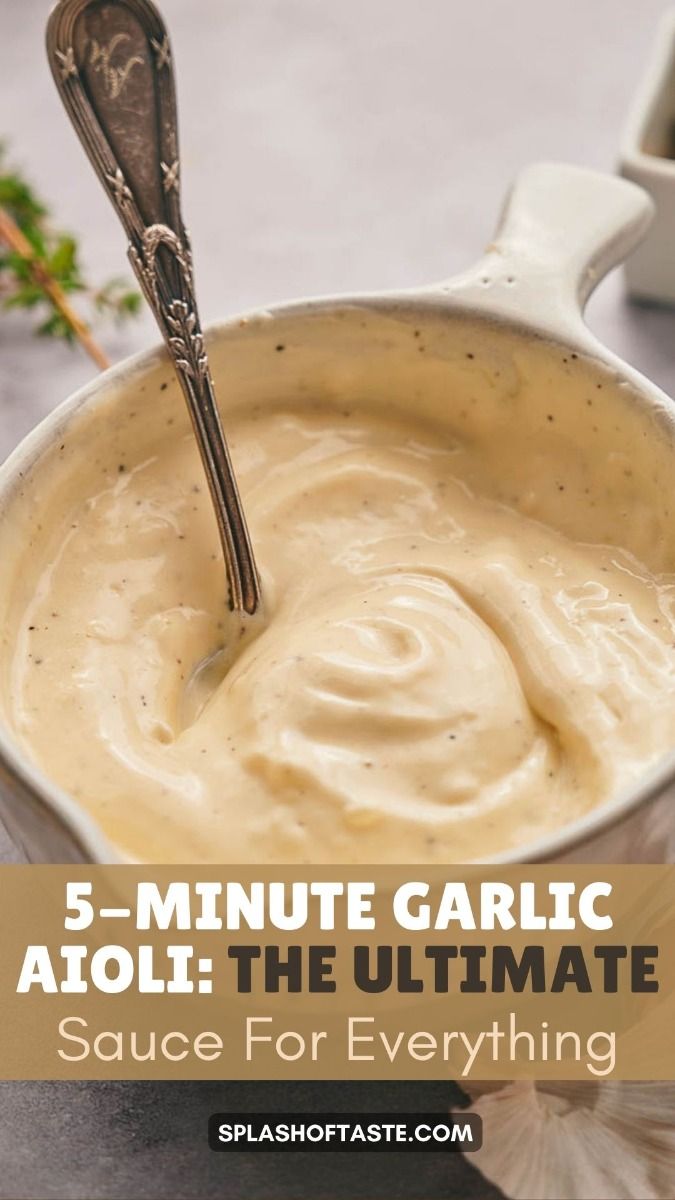
Simple Garlic Aioli Recipe
Make creamy, garlicky aioli in 5 minutes with this easy recipe. Perfect for fries, sandwiches, and more!
🧂 Ingredients
- 1 large egg yolk
- 1 teaspoon Dijon mustard
- 1-2 cloves garlic, finely grated
- 1 tablespoon fresh lemon juice
- 1/2 cup (120 ml) neutral oil (like canola or grapeseed)
- 1/4 teaspoon salt, or to taste
- 1 teaspoon water (optional)
📋 Instructions
- 1Prep Your Ingredients — Bring the egg and lemon juice to room temperature. Grate the garlic into a paste using a microplane. This ensures a smooth, even garlic flavor.
- 2Whisk the Base — In a medium bowl, whisk together the egg yolk, Dijon mustard, grated garlic, lemon juice, and salt. Whisk until well combined and slightly frothy.
- 3Add Oil Drop by Drop — Begin adding the oil a few drops at a time while whisking constantly. This is crucial for the emulsion to form – think of it as building a foundation. If you add too much at once, the mixture will separate.
- 4Slowly Stream the Oil — Once the mixture starts to thicken and look creamy (after about 1/4 of the oil), you can add the oil in a slow, steady stream while whisking continuously. Continue until all oil is incorporated and the aioli is thick and glossy.
- 5Adjust Consistency — If the aioli is too thick, whisk in 1 teaspoon of water to loosen it. Taste and adjust seasoning with more salt or lemon juice if needed.
- 6Chill and Serve — Transfer the aioli to a serving bowl. Cover and refrigerate for at least 30 minutes to allow the flavors to meld. Serve chilled or at room temperature.

Liam writes about personal finance for young professionals, covering budgeting, saving, and investing basics. He focuses on debunking myths and building long-term financial habits.