
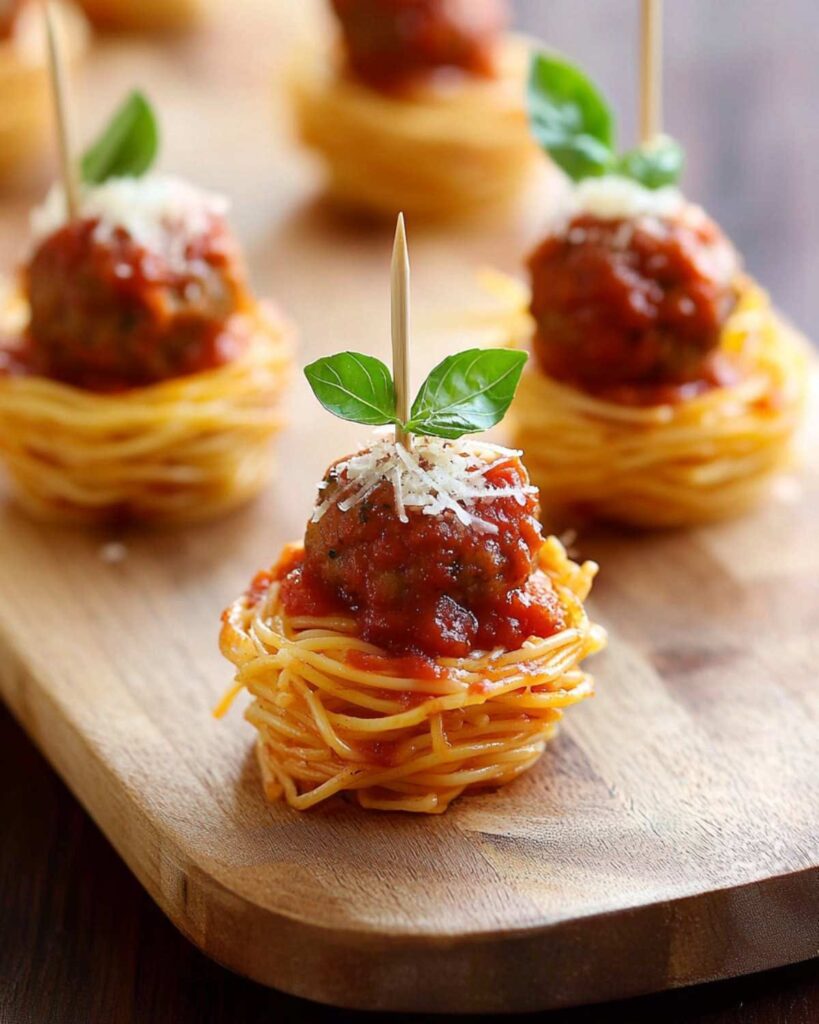
These crispy Italian arancini are a game-changer for your appetizer spread. Golden brown on the outside, with a creamy risotto center and a molten mozzarella core, they're the perfect bite-sized indulgence. Whether you're hosting a party or just want a fun weekend snack, these are sure to impress.
Advertisements1
I've streamlined the process to make it approachable for home cooks. You don't need to be a pro to nail these – just follow my tested steps and you'll get that perfect crunch every time. Plus, they can be prepped ahead and fried when your guests arrive.
What sets these apart is the blend of textures and the rich, savory flavor. The risotto is seasoned with Parmesan and a hint of lemon zest, and each ball is rolled in crispy breadcrumbs. Serve them with a simple marinara for dipping, and watch them disappear.
Why You'll Love This Recipe
About the Ingredients
2 cups (400g) leftover risotto (or freshly made, cooled)
Use any risotto, but a mushroom or saffron version works great. If making fresh, use 1 cup arborio rice cooked with broth and white wine, then cool completely.
1 cup (120g) all-purpose flour
For dredging. You can use gluten-free flour blend if needed.
2 large eggs, beaten
For the egg wash. Pasture-raised eggs give a richer color.
1 ½ cups (180g) Italian-style breadcrumbs
Panko breadcrumbs mixed with a pinch of dried oregano and parsley give extra crunch and flavor.
4 oz (115g) fresh mozzarella, cut into ½-inch cubes
Low-moisture mozzarella also works and melts without making the arancini soggy.
1 ½ cups (360ml) vegetable oil, for frying
Peanut or canola oil have high smoke points. Avoid olive oil for deep frying.
1 cup (240ml) marinara sauce, warmed
Use your favorite jarred sauce or homemade. Look for one with no added sugar.
½ cup (50g) grated Parmesan cheese
Freshly grated is best. If using pre-grated, it may not melt as smoothly into the risotto.
1 teaspoon lemon zest
Fresh zest brightens the flavor. Omit if you don't have a lemon on hand.
Salt and black pepper, to taste
Sea salt and freshly ground pepper enhance all flavors.
Tips & Tricks
Chill the risotto thoroughly
Cold risotto holds its shape better when forming balls. If it's too warm, the balls will fall apart during frying.
Don't overfill the pot
Fry in batches to keep the oil temperature stable. Overcrowding drops the temperature and makes the arancini greasy.
Use a thermometer
Maintain oil at 350°F (175°C) for even cooking. If too hot, the outside burns before the cheese melts.
Pro Tips
Step-by-Step Instructions
1. Prep the Risotto
If using leftover risotto, ensure it's cold. If making fresh, cook 1 cup arborio rice with 3 cups broth and ½ cup white wine until creamy, then stir in Parmesan and lemon zest. Spread on a tray and cool completely in the refrigerator for at least 1 hour.
2. Form the Balls
Scoop about 2 tablespoons of risotto and flatten it in your palm. Place a cube of mozzarella in the center, then wrap the risotto around it, forming a tight ball about 1.5 inches in diameter. Repeat with remaining risotto and cheese.
3. Set Up Breading Station
Place flour in a shallow dish, beaten eggs in another, and breadcrumbs in a third. Season the flour with a pinch of salt and pepper.
4. Coat the Arancini
Roll each ball in flour, shaking off excess. Dip in egg, letting excess drip off, then roll in breadcrumbs, pressing gently to adhere. For extra crunch, repeat egg and breadcrumb steps. Place coated balls on a plate and refrigerate for at least 30 minutes.
5. Heat the Oil
In a heavy-bottomed pot or Dutch oven, heat vegetable oil to 350°F (175°C) using a deep-fry thermometer. The oil should be about 2 inches deep.
6. Fry the Arancini
Carefully lower a few arancini into the hot oil using a slotted spoon. Fry in batches, without crowding, for 3-4 minutes per side, turning occasionally, until golden brown and crispy. The center should reach an internal temperature of 165°F (74°C).
7. Drain and Season
Transfer fried arancini to a paper towel-lined plate. Sprinkle immediately with a pinch of salt. Repeat with remaining batches.
8. Serve with Marinara
Warm the marinara sauce in a small saucepan over low heat. Serve arancini hot with the sauce on the side for dipping.
Delicious Variations
Meat Lover's
Add ½ cup cooked, crumbled Italian sausage to the risotto mixture.
Veggie Delight
Mix in ½ cup sautéed spinach and ¼ cup sun-dried tomatoes.
Spicy Kick
Add ¼ teaspoon red pepper flakes to the breadcrumbs or a cube of pepper jack cheese instead of mozzarella.
How to Store Crispy Italian Arancini with Marinara
Refrigerator
Store leftover arancini in an airtight container for up to 3 days. Reheat in an air fryer at 350°F (175°C) for 5-6 minutes.
Freezer
Freeze uncooked, breaded arancini in a single layer on a baking sheet, then transfer to a freezer bag for up to 2 months. Fry frozen, adding 2-3 minutes to cooking time.
Reheating
For best crispness, reheat in an air fryer or oven at 375°F (190°C) for 8-10 minutes. Avoid microwaving as it makes them soggy.
Frequently Asked Questions
Q: Can I bake arancini instead of frying?
Yes, you can bake them. Preheat oven to 400°F (200°C) and place arancini on a baking sheet lined with parchment. Brush with oil and bake for 20-25 minutes, turning halfway, until golden and heated through.
Q: How do I prevent arancini from falling apart?
Make sure the risotto is very cold and well-chilled. Also, press the balls firmly and ensure they are fully coated in breadcrumbs. Chilling the breaded balls before frying also helps them hold together.
Q: Can I use regular rice instead of arborio?
Yes, but arborio rice is best because it's high in starch, giving the risotto a creamy texture that binds well. If using regular rice, you may need to add an extra egg or some flour to help bind the mixture.
Q: What is the best oil for frying arancini?
Use a neutral oil with a high smoke point, such as vegetable, canola, or peanut oil. These oils can be heated to 350°F (175°C) without burning and won't impart unwanted flavors.
Q: Can I make arancini ahead of time?
Absolutely! Prepare and bread the arancini, then refrigerate them for up to 24 hours before frying. You can also freeze them for up to 2 months – just fry them straight from the freezer, adding a few extra minutes.
Ready to impress your guests with these crispy Italian bites? Gather your ingredients and give this recipe a try. Don't forget to share your results in the comments below – and happy cooking!
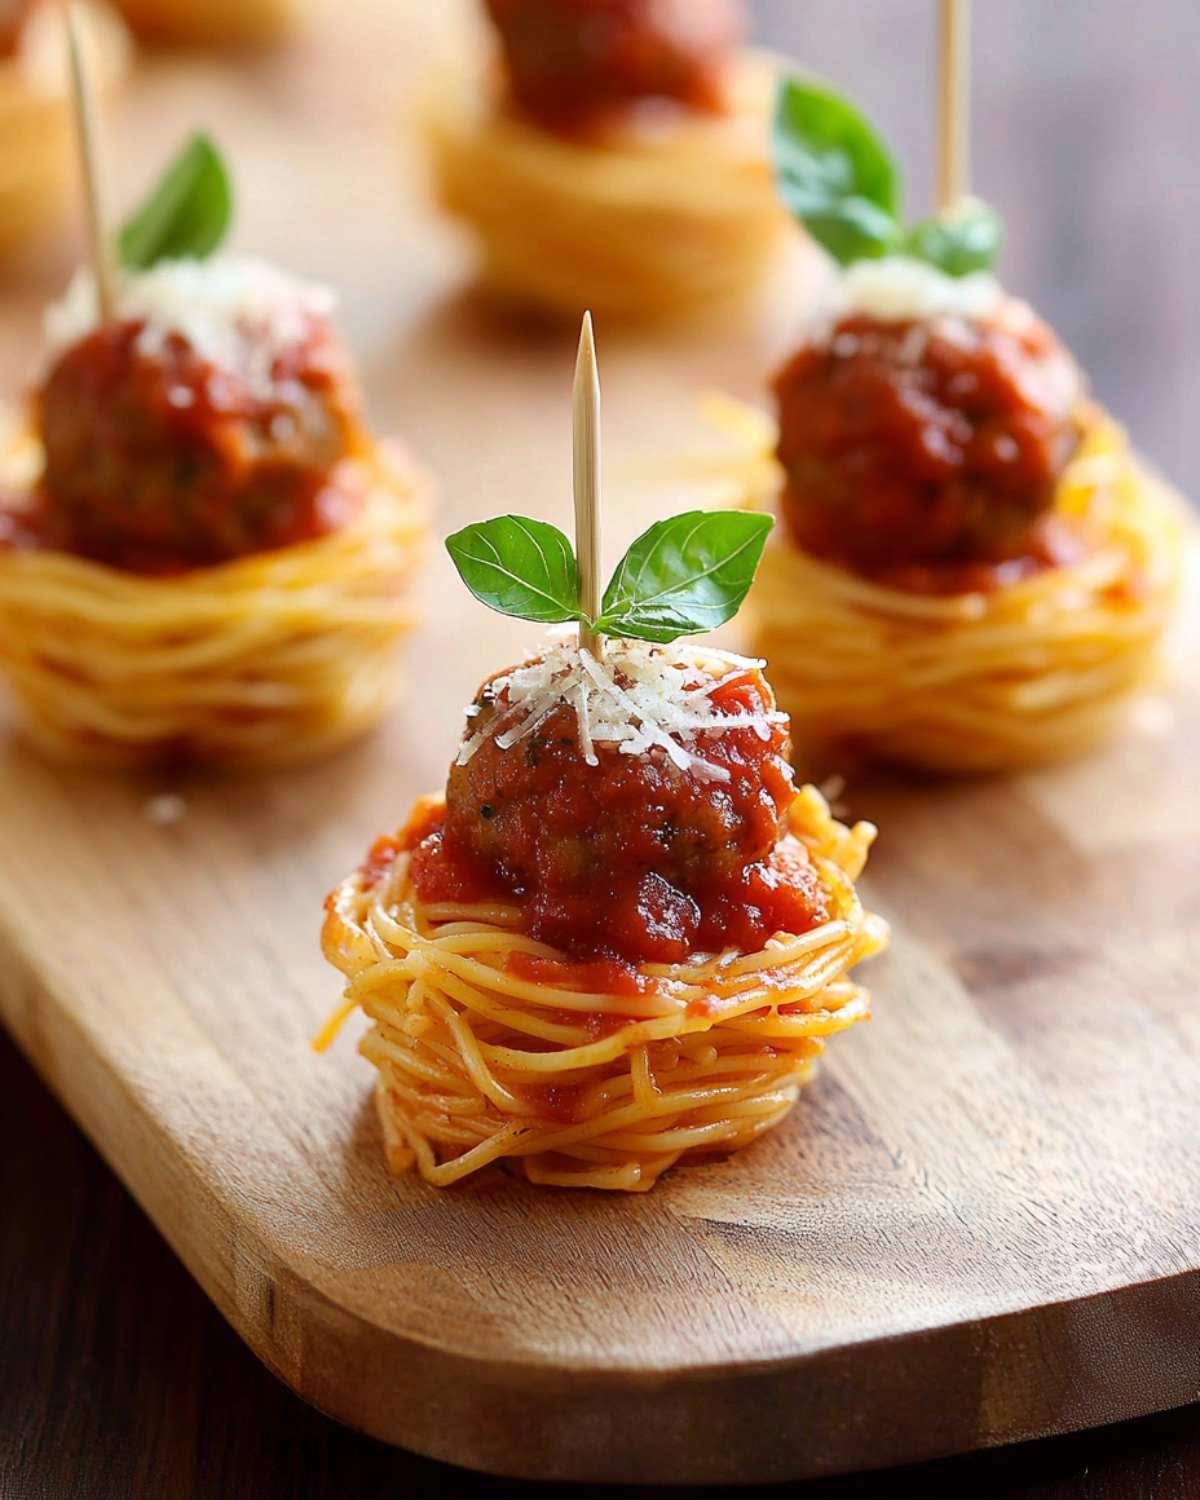
Crispy Italian Arancini with Marinara
Crispy Italian Arancini with gooey mozzarella center, served with marinara. A crowd-pleasing finger food that's surprisingly easy to make.
🧂 Ingredients
- 2 cups (400g) leftover risotto (or freshly made, cooled)
- 1 cup (120g) all-purpose flour
- 2 large eggs, beaten
- 1 ½ cups (180g) Italian-style breadcrumbs
- 4 oz (115g) fresh mozzarella, cut into ½-inch cubes
- 1 ½ cups (360ml) vegetable oil, for frying
- 1 cup (240ml) marinara sauce, warmed
- ½ cup (50g) grated Parmesan cheese
- 1 teaspoon lemon zest
- Salt and black pepper, to taste
📋 Instructions
- 1Prep the Risotto — If using leftover risotto, ensure it's cold. If making fresh, cook 1 cup arborio rice with 3 cups broth and ½ cup white wine until creamy, then stir in Parmesan and lemon zest. Spread on a tray and cool completely in the refrigerator for at least 1 hour.
- 2Form the Balls — Scoop about 2 tablespoons of risotto and flatten it in your palm. Place a cube of mozzarella in the center, then wrap the risotto around it, forming a tight ball about 1.5 inches in diameter. Repeat with remaining risotto and cheese.
- 3Set Up Breading Station — Place flour in a shallow dish, beaten eggs in another, and breadcrumbs in a third. Season the flour with a pinch of salt and pepper.
- 4Coat the Arancini — Roll each ball in flour, shaking off excess. Dip in egg, letting excess drip off, then roll in breadcrumbs, pressing gently to adhere. For extra crunch, repeat egg and breadcrumb steps. Place coated balls on a plate and refrigerate for at least 30 minutes.
- 5Heat the Oil — In a heavy-bottomed pot or Dutch oven, heat vegetable oil to 350°F (175°C) using a deep-fry thermometer. The oil should be about 2 inches deep.
- 6Fry the Arancini — Carefully lower a few arancini into the hot oil using a slotted spoon. Fry in batches, without crowding, for 3-4 minutes per side, turning occasionally, until golden brown and crispy. The center should reach an internal temperature of 165°F (74°C).
- 7Drain and Season — Transfer fried arancini to a paper towel-lined plate. Sprinkle immediately with a pinch of salt. Repeat with remaining batches.
- 8Serve with Marinara — Warm the marinara sauce in a small saucepan over low heat. Serve arancini hot with the sauce on the side for dipping.

Lars writes about outdoor adventure and minimalist gear, focusing on long-distance hiking and camping. He shares route planning tips, gear tests, and lessons from the trail, always emphasizing safety and leaving no trace. His writing is practical and seasoned, but he never claims to be an expert—just a passionate hiker.